LoginWP allows you to create different login redirection rules based on different user criteria such as role, capability, and usernames. Thus, users will be redirected to different URLs after they log in to your WordPress site based on your redirection rules. It works with the default WordPress login page and login forms from WooCommerce, Gravity Forms, WPForms, LifterLMS, Easy Digital Downloads, WP User Frontend, LearnDash, MemberPress, MemberMouse, Restrict Content Pro, Paid Memberships Pro, ProfilePress, LearnPress, Ultimate Member, WishList Member, WP User Manager, Tutor LMS, Theme My Login, User Registration (WPEverest), Polylang, WPML, Elementor.
To create a login redirect rule, go to LoginWP >> Redirections.
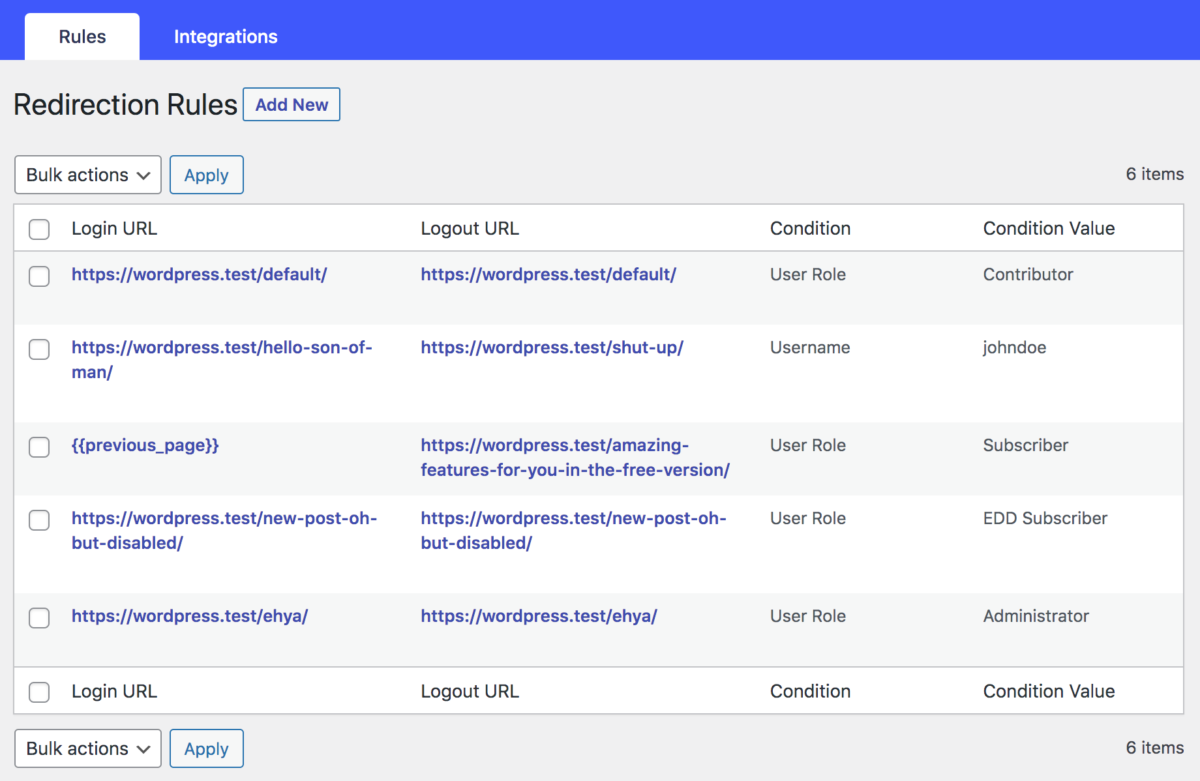
Click the Add New button.
Select the Rule type (could be a user role, capability and username) and the condition.
You can optionally enter an order number.
Please note that the order feature only works within rules of the same condition and not across different conditions. For example, if you set the order for a user role rule to 1 and 2 for a capability rule. the user role rule won’t necessarily run first because the order feature is useless in this case.
However, say you have a rule for Subscriber with order 1 and Customer roles with order 2, and a user with both roles tries to log in. The rule with the lowest number (Subscriber with order 1) will be used.
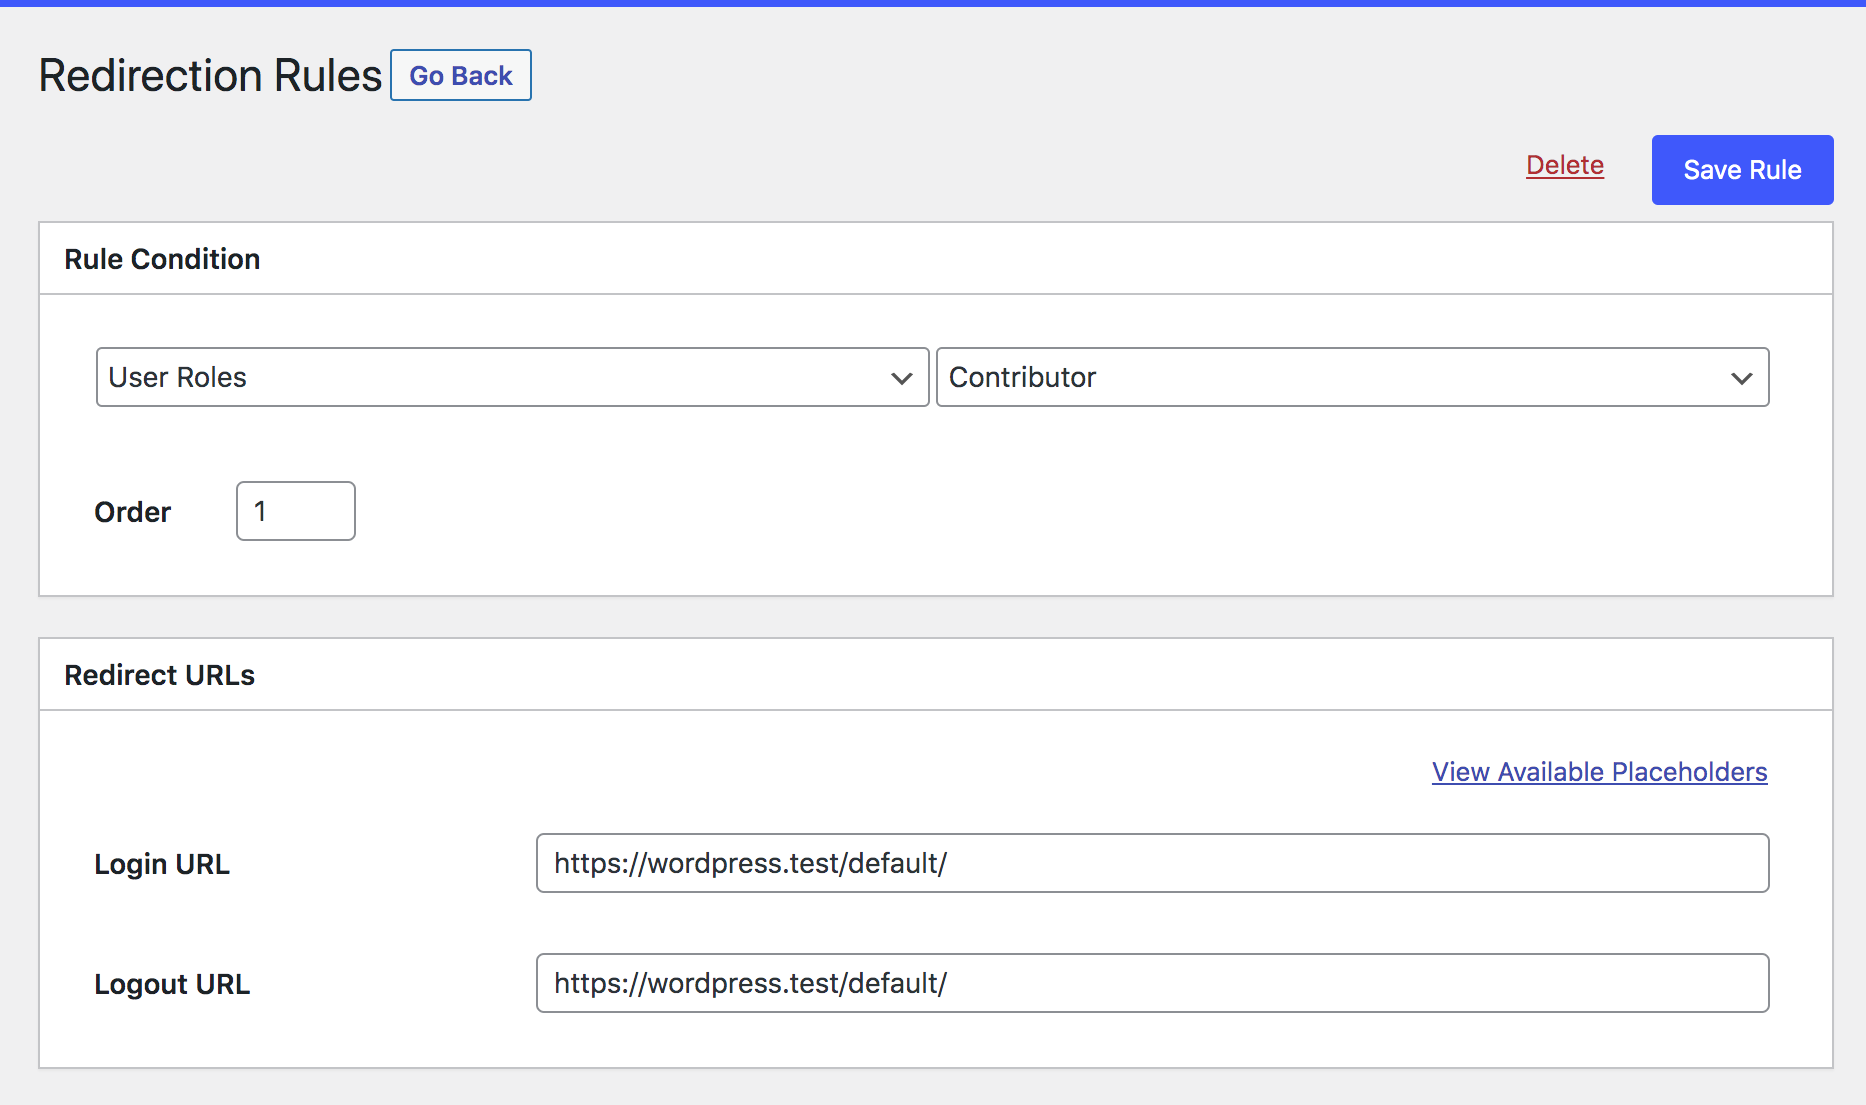
Enter the URLs that users will be redirected to after they log in and log out.
Note: You can use any of the available placeholders to form a URL or in place of a URL. Learn more about using placeholders here.
Finally, save the changes.


